April 2019
#1 – Character Animations
by Martin Menzel

In this edition, I’d like to describe the process that brings characters to life in Knights of Frontier Valley.
A QUICK BACKGROUND
Early in the development process, a choice had to be made whether the game should be based on a 2D or a 3D engine. It was a critical design decision which would affect almost everything that had to do with the game’s code or art.
As this was my first game, the idea of getting into the complexities of a 3D engine appeared somewhat daunting at the time.
But it was also that the look of many isometric 3D games did not particularly appeal to me… low-poly 3D models, poor textures with a lack of depth, and a horizon that often ends in oddly looking fog didn’t match the art style I was aiming for.
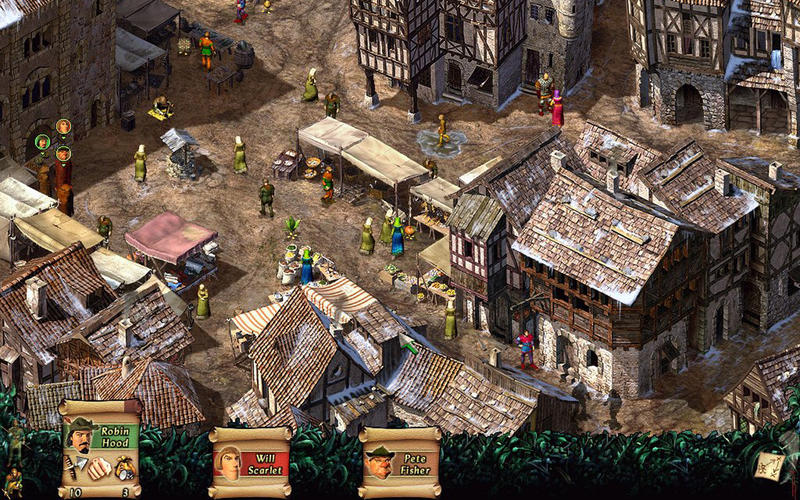
What I had in mind was a scenery high in detail and depth, something that almost looked like a painting.
Considering that a 3D engine offers only limited advantages when the viewer’s perspective doesn’t change (like in the game I was designing), and looking at older titles with great, timeless 2D art, I made up my mind: Knights of Frontier Valley would be a 2D game.
The fact that a 2D engine would also allow running the game smoothly on systems with low-end graphics was a nice side effect.
Now, on to animations!
2D character animations are often done by playing back pre-rendered frames, just like short video clips. Depending on the number of characters, animations, smoothness (frames per animation), and the variety in clothing and equipment (overlays), this can be a relatively simple, or a stunningly complex process.
The player character in Knights of Frontier Valley supports 58 animations, which include activities like “standing idle”, “walking”, “running”, “swinging a weapon”, “shooting a bow”, and many more. Most animations consists of 16 frames for each of the eight cardinal directions (N, NE, E, SE, S, SW, W, NW).
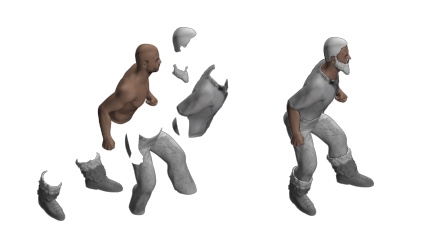
For all animations and directions, there are almost 6500 frames for this character’s body. Mind, this is just the player character, or more specifically, just his upper body (the legs are a separate set). Various hair and beard styles, faces, and decorative elements like tattoos can be rendered over the torso as overlays to add variety.
Once the body components are drawn, the character is still in his underpants. Each piece of worn equipment like clothes, armor, shields, weapons, and many more are also drawn over the body. A fully equipped character can consist of up to 18 layers. Each piece of equipment adds several thousands of frames to the collection, one of them shown at a time.
There are already more than half a million frames for all characters’ bodies and their equipment in the game, and counting. To make sure they are all correct, I have visually inspected every single one of them – fun!
Our animators Regev and Stephen create all 2D frames from 3D-models of the characters. Creating frames in 3D space is an efficient way of producing snapshots of body postures and render them for different directions.
But because everything is pre-rendered and does not need to be computed at runtime, there are no restrictions to texture quality or polygon count.
Frames are organized in “spritesheets” – single images that hold all frames for one animation. Having them grouped like this not only massively reduces the number of files the game needs to copy to disk, but also increases performance, since one image will load much faster than many, even if it is significantly larger.
Up to this point, drawing a character has been a matter of identifying the right frame for the body and for each piece of equipment. But before things can actually be rendered to the screen, things get more complex… and that’s because of the order the layers need to be drawn.
If, for example, our hero is wearing a shirt, pants, shoes, and a cape, and is wielding a bow (which comes with a quiver), the correct rendering order of the components while facing north would be:
- Front part of the cape (which is split into two parts)
- Body
- Shoes
- Pants
- Shirt
- Back part of the cape
- Quiver
- Stashed weapon (when holding it in his hand, the order is different)
When he turns around to face south, this order changes. It would also be different if he had a crossbow instead of a bow, as it is held in a different way.
Defining a different rendering order depending on the worn equipment for each direction makes things more complex, but it’s still within reason.
Things get messy when the character temporarily changes direction within one animation (as when wide-swinging a large weapon, or when picking something up). Those scenarios each require a custom rendering order for a few frames, which is entirely art-dependent and cannot be computed.
While this issue could be avoided by only using art where no change of direction occurs within one animation, it would introduce a great limitation to the art and make things look unnatural.
Getting the rendering order right for all animations and all combinations of equipment has been the second-most time consuming part of making the game so far – the first one being pathfinding, which will be the Dev Blog topic for another month.
I hope you enjoyed this little insight,
Martin